

インストール
Node.jsのインストール
Serverless Framework V4はNode.jsのバージョン18.20.3以上で動きます。まずは、条件を見たすNode.jsをインストールしましょう。何かしらのNode.jsのバージョン管理ツールを用いてローカルにNode.jsをインストールすることをお勧めします。今回はnodenvを使ってみます。
まずはbrewでnodenvをインストールします。
$ brew install nodenv以下のコマンドでインストール可能なバージョンの一覧が表示されます。
$ nodenv install --list-all
---- 中略 -----

20.10.0
20.11.0
20.11.1
20.12.0
20.12.1
20.12.2
20.13.0
20.13.1
20.14.0
20.15.0
20.15.1
20.16.0
20.17.0
21.0.0
現時点で最新版のバージョン22.7.0でServerlessを動かすとエラーが出たため、今回は20系の最新を使用します
$ nodenv install 20.17.0
$ nodenv global 20.17.0
$ node-v
v20.17.0
これでインストールは完了しました。
Serverless Framework V4のインストール
npm経由でインストールを行います。
$ npm install -g serverless
$ serverless --version

Serverless ϟ Framework

 • 4.4.4
セットアップ
Serverless Frameworkのプロジェクトの基本概念は「Service」で、これはserverless.ymlファイルで定義されます。Serviceは、アプリ全体や特定のドメイン(例:ブログ、ユーザー、商品)のロジック、または特定のタスクを処理するマイクロサービスとして構成できます。
Serverless FrameworkでServiceを作成・設定するには、serverlessコマンドを使用し、対話形式のセットアップを行います。
自分の作りたいアプリに最も合った言語と形式を選択します。
$ serverless

Serverless ϟ Framework

Welcome to Serverless Framework V.4

Create a new project by selecting a Template to generate scaffolding for a specific use-case.

? Select A Template: …
❯ AWS / Node.js / HTTP API
  AWS / Node.js / Express API
  AWS / Node.js / Express API with DynamoDB
  AWS / Node.js / Scheduled Task
  AWS / Node.js / Simple Function
  AWS / Python / HTTP API
  AWS / Python / Flask API
  AWS / Python / Flask API with DynamoDB
  AWS / Python / Scheduled Task
  AWS / Python / Simple Function
  AWS / Compose / Serverless + Cloudformation + SAM
テンプレートを選択したら次はプロジェクトの名前を決めます。Serverlessはこのプロジェクト名のディレクトリをローカルに作成してその配下にテンプレートを展開します。今回はsls-test にしてします。
$ serverless

Serverless ϟ Framework

Welcome to Serverless Framework V.4

Create a new project by selecting a Template to generate scaffolding for a specific use-case.

✔ Select A Template: · AWS / Node.js / HTTP API

? Name Your Project: › sls-test
次にServerless Frameworkのダッシュボードにログインするかライセンスキーを取得するかを選択します。年間で$2百万ドル以下の組織であれば無料で使用することが可能です。
? Serverless Framework V4 CLI is free for developers and organizations making less than $2 million annually, but requires an account or a license key.

Please login/register or enter your license key: …
❯ Login/Register
  Get A License
  Enter A License Key
  Explain Licensing Basics
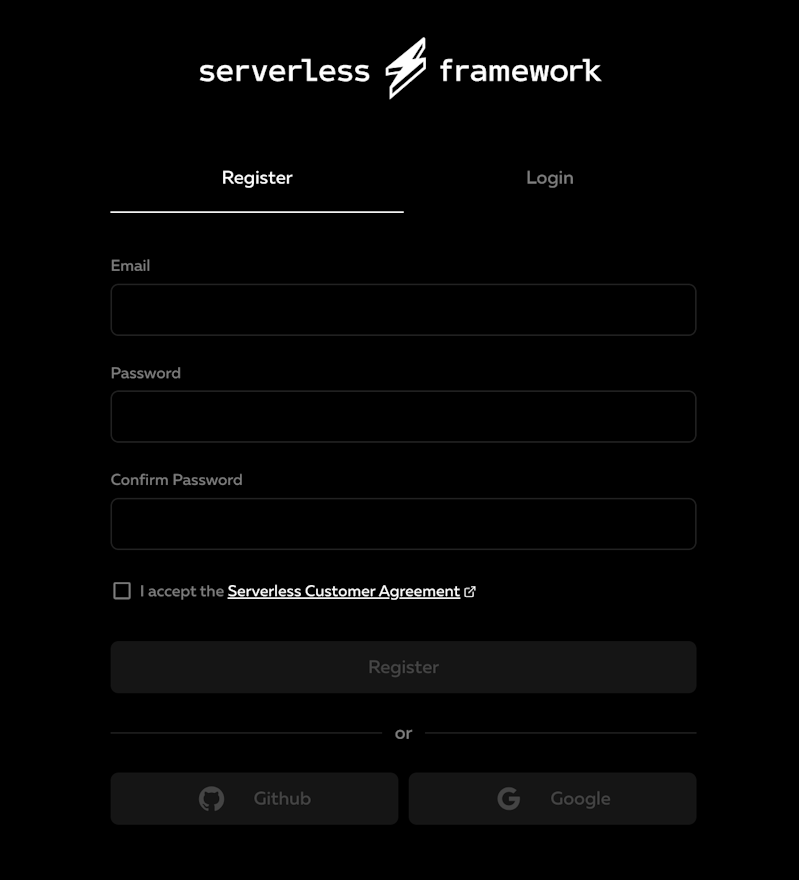
Login/Register を選択するとブラウザが開きServerlessダッシュボードのログイン/登録画面に遷移します。また、アカウントを作成していなければここで登録しましょう。
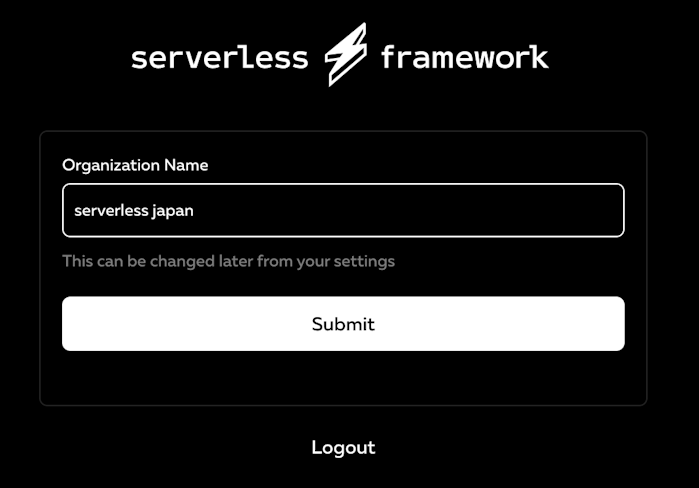
アカウントを作成すると次に組織名の登録画面になります。
ここでアカウント登録するとCLI側でのログインが完了して、サービス配下のアプリケーションの名前やクレデンシャルの管理方法を選択します。
✔ Create Or Select An Existing App: · Create A New App

✔ Name Your New App: · test-app

⠼ Checking credentialserror resolving aws account id
No valid AWS Credentials were found in your environment variables or on your machine. Serverless Framework needs these to access your AWS account and deploy resources to it. Choose an option below to set up AWS Credentials.

✔ AWS Credentials Set-Up Method: · Skip & Set Later (AWS SSO, ENV Vars)

You can set up AWS Credentials later using AWS SSO, environment variables, or other methods. You will not be able to deploy resources to AWS until you set up AWS Credentials.

Your new Service "sls-test" is ready. Here are next steps:

• Open Service Directory: cd sls-test
• Install Dependencies: npm install (or use another package manager)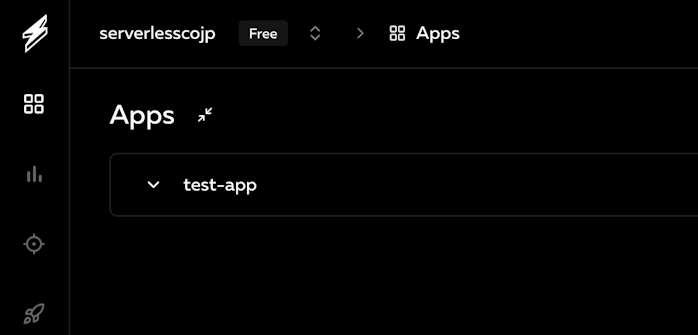
• Deploy Your Service: serverless deployこれでセットアップ完了です。Serverlessダッシュボード側を確認してみても、ここで作成したtest-appがダッシュボード上でも出来ています。特に必要なければ以降ダッシュボードにアクセスする必要はありません。ここからはデプロイの履歴やログ、メトリクスなどが確認できます。今後必要があれば使うようにしましょう。
実際に作成したプロジェクトに移動すると以下のような構成になっています。
% cd sls-test
horiketakahiro@horiketakahironoMacBook-Pro sls-test % tree
.
├── README.md
├── handler.js
└── serverless.yml

1 directory, 3 files
そのままクレデンシャルを設定してデプロイすると正しくAPIのエンドポイントが発行されたことが分かります。
% serverless deploy

Deploying "sls-test" to stage "dev" (us-east-1)

✔ Service deployed to stack sls-test-dev (50s)

endpoint: GET - https://ely17n3pb1.execute-api.us-east-1.amazonaws.com/
functions:
  hello: sls-test-dev-hello (1.6 kB)
Serverless devコマンドによる開発
serverless dev コマンドを実行することでローカルでの開発モードが立ち上がります。以下の例だとAPI Gatewayにリクエストを送るとローカルのコードが動作し、その結果を返します。つまり、ローカルのコードを更新すると即座にクラウドに反映されているかのような動作をします。言い換えると直接クラウド上で開発を行っているかのような体験を得られます。
V3までのローカル開発はローカルにLambdaファンクションをエミュレートする環境を構築するか、毎回AWS上にデプロイを行うかのどちらかでした。このコマンドがV4から使いされたことで非常に開発自体がやりやすくなりました。
% serverless dev

Dev ϟ Mode

Dev Mode redirects live AWS Lambda events to your local code enabling you to develop faster without the slowness of deploying changes.

Docs: https://www.serverless.com/framework/docs/providers/aws/cli-reference/dev

Run "serverless deploy" after a Dev Mode session to restore original code.

Functions:
  hello: sls-test-dev-hello (80 kB)

Endpoints:
  GET - https://19h7oosy8i.execute-api.us-east-1.amazonaws.com/

✔ Connected (Ctrl+C to cancel)
デプロイなしでローカルコードに変更を即座に反映
ローカルのエディタ上でコードを変更すると、AWS上のイベントを通して即座に動作確認が可能となります。試しに、Lambdaファンクション内で定義した「Go Serverless v4! Your function executed successfully!」と返ってくるHTTPイベントのレスポンスを「Your function executed successfully!」に変更して、dev mode起動時に発行されたエンドポイントにリクエストを送るとすぐに反映されていました。
% curl https://19h7oosy8i.execute-api.us-east-1.amazonaws.com/
{"message":"Your function executed successfully!"}%
ログ、エラーなどがローカルから直接参照できる
ローカルのエディタ上のコードがエラーを吐いている場合には、コンソール上にリアルタイムにエラーログが表示されます。これにより素早いデバッグが可能となります。例えばローカルのコードにエラーが有る状態でコードを保存。先ほどと同じエンドポイントにリクエストを送ると以下のようにコンソール上にエラーが表示されます。
→ λ hello ── aws:apigateway:v2:get:/
─ /Users/xxxxxxx/src/sls-v4-test-2/handler.js:6
    ),
    ^

SyntaxError: Unexpected token ')'
    at wrapSafe (node:internal/modules/cjs/loader:1378:20)
    at Module._compile (node:internal/modules/cjs/loader:1428:41)
    at Module._extensions..js (node:internal/modules/cjs/loader:1548:10)
    at Module.load (node:internal/modules/cjs/loader:1288:32)
    at Module._load (node:internal/modules/cjs/loader:1104:12)
    at cjsLoader (node:internal/modules/esm/translators:346:17)
    at ModuleWrap.<anonymous> (node:internal/modules/esm/translators:286:7)
    at ModuleJob.run (node:internal/modules/esm/module_job:234:25)
    at async ModuleLoader.import (node:internal/modules/esm/loader:473:24)
関数の実行
serverless dev にてローカル開発モードを立ち上げるか、serverless deploy にて一度AWS上にデプロイした場合にserverless invoke にて関数が実行できます。
$ serverless invoke -f hello --log

{
    "statusCode": 200,
    "body": "{\"message\":\"Go Serverless v4! Your function executed successfully!\"}"
}

----------------------

START - e07ef7f6-48d8-4f21-b7c6-7cb4935f8088 - Version: $LATEST

REPORT - e07ef7f6-48d8-4f21-b7c6-7cb4935f8088
Duration: 17.76 ms Billed Duration: 18 ms Memory Size: 1024 MB Max Memory Used: 65 MB Init Duration: 131.90 msdevモードを使っている場合はそのままAWS上のイベントを使って開発ができるためあまり不要かもしれませんが、--dataオプションで関数に引き渡すイベントを指定することが可能です。
$ serverless invoke -f hello --log  --d "{'aaa':'bbb'}"

{
    "statusCode": 200,
    "body": "{\"message\":\"{'aaa':'bbb'}\"}"
}
devモードを使わずにローカルの関数のみを動かすことも可能です。serverless invoke localコマンドを使用します。
$ serverless invoke local -f hello --d "{'aaa':'bbb'}"

{
    "statusCode": 200,
    "body": "{\"message\":\"{'aaa':'bbb'}\"}"
}
イベントトリガーの設定
Serverless Frameworkはファンクションにイベントを設定することでイベント駆動のアーキテクチャを実現することをサポートしています。ここの仕様はV3のときから大きく変更はありません。HTTP APIのイベントは以下のように設定します。
functions:
  simple:
    handler: handler.simple
    events:
      - httpApi: 'PATCH /elo'
  extended:
    handler: handler.extended
    events:
      - httpApi:
          method: POST
          path: /post/just/to/this/path
その他、Serverless Framework V4では以下のイベントに対応しています。具体的な使用方法は公式のドキュメントを確認してみてください。
- HTTP API (API Gateway V2)
- REST API (API Gateway V1)
- ActiveMQ
- Application Load Balancer
- Alexa Skill
- Alexa Smart Home
- CloudWatch Event
- CloudWatch Log
- CloudFront
- Cognito User Pool
- EventBridge Event
- IoT
- IoT Fleet Provisioning
- Kafka
- Kinesis & DynamoDB
- MSK
- RabbitMQ
- S3
- Schedule
- SNS
- SQS
- Websocket
変数機構
Serverless Frameworkでは変数の仕組みが用意されており、serverless.yml上で動的な値を扱うことが出来ます。
環境変数を参照する
環境変数を参照する場合は${env:SOME_VAR}というシンタックスをserverless.ymlに記述します。以下がその例です。serverless.yml
service: new-service
provider: aws
functions:
  hello:
      name: ${env:FUNC_PREFIX}-hello
      handler: handler.hello
  world:
      name: ${env:FUNC_PREFIX}-world
handler: handler.worldこの例ではあなたのPC内のFUNC_PREFIXという環境変数を参照するようになりました。
CLIオプションを参照する
serverlessコマンド実行時のオプションを参照させたい場合は${opt:SOME_VAR}というシンタックスをserverless.ymlに記述します。以下がその例です。
service: new-service
provider: aws
functions:
  hello:
      name: ${opt:stage}-hello
      handler: handler.hello
  world:
      name: ${opt:stage}-world
      handler: handler.world
serverless deploy --stage devとした場合は、${opt:stage}はdevが返ります。また、serverless deploy --stage productionとした場合は、productionが返ります。
自身で定義した変数を参照する
serverless.yml内で自身で定義した変数を参照させることも出来ます。${self:someProperty}というシンタックスで定義可能です。以下がその例です。
service: new-service
provider: aws
custom:
  globalSchedule: rate(10 minutes)

functions:
  hello:
      handler: handler.hello
      events:
        - schedule: ${self:custom.globalSchedule}
  world:
      handler: handler.world
      events:
        - schedule: ${self:custom.globalSchedule}
他のファイルで定義した変数を参照する
serverless.ymlとは別で定義したファイルを読み込んで、その変数を参照することも出来ます。${file(../myFile.yml):someProperty}というシンタックスでserverless.ymlに定義してください。以下がその例になります。
globalSchedule: rate(10 minutes)service: new-service
provider: aws
custom: ${file(../myCustomFile.yml)} # You can reference the entire file
functions:
hello:
handler: handler.hello
events:
- schedule: ${file(../myCustomFile.yml):globalSchedule} # Or you can reference a specific property
world:
handler: handler.world
events:
- schedule: ${self:custom.globalSchedule} # This would also work in this caseGitの値を参照する
Gitでソース管理をする場合にブランチ毎に命名を変えたい場合もあるのではないでしょうか。その場合は${git:<variable>} を使用します。ブランチ毎にリソース名を変えたい場合は以下のように設定します。
service: new-service
functions:
  hello:
    name: hello-${git:branch}
    handler: handler.hello
    description: ${git:message}
AWS上のデータを参照する
AWSのSSMパラメータ、CloudFormationのOutPut、S3のオブジェクトの情報についてはserverless.yml上で参照することが出来ます。
例えばSSMのパラメータを参照したい場合には以下のように記述することでデプロイ時にSSMパラメータの値を参照してデプロイを実施します。
stages:
  default:
    resolvers:
      awsAccount1:
        type: aws
functions:
  hello:
    handler: handler.hello
    description: ${awsAccount1:ssm:/path/to/param}
Terraformの出力の参照
Serverless Framework V4では、HashiCorp Terraformとの統合が強化され、${terraform}変数を使ってTerraformの状態出力を簡単に取得できるようになりました。これにより、RDSやSQSなどの共有インフラをTerraformで管理し、アプリ固有のリソースはServerless Frameworkが担当するというハイブリッドな運用が可能です。
service: my-service

stages:
  default:
    resolvers:
      terraform:
        type: terraform
        backend: s3
        bucket: terraform-state
        key: terraform.tfstate

functions:
  helloWorld:
  handler: handler.hello
  environment:
    TERRAFORM_VARIABLE: ${terraform:outputs:users_table_arn}
HashiCorp Vaultのデータの参照
HashiCorp Vault上のデータも${vault}変数で参照可能です。デプロイ時にHashiCorp Vaultから安全にシークレットを取得でき、サーバーレスサービスのセキュリティと柔軟性が向上します。
service: my-service

stages:
  default:
    resolvers:
      vault:
        type: vault
        address: http://127.0.0.1:8200
        token: ${env:VAULT_TOKEN}
        version: v1

functions:
  helloWorld:
  handler: handler.hello
  environment:
    VAULT_VARIABLE: ${vault:secret/data/mongo/credentials.password}